How to String a Fishing Pole: Step by Step with Pictures
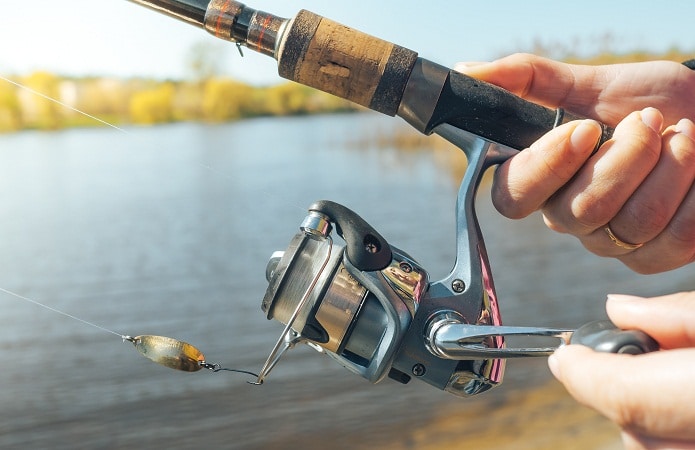
Stringing your fishing pole is actually very easy and after spooling a few poles, it will only take you a few minutes. Follow the simple steps in this article and you will have no trouble putting line on your rod and reel.
Step 1: Choosing Fishing Line
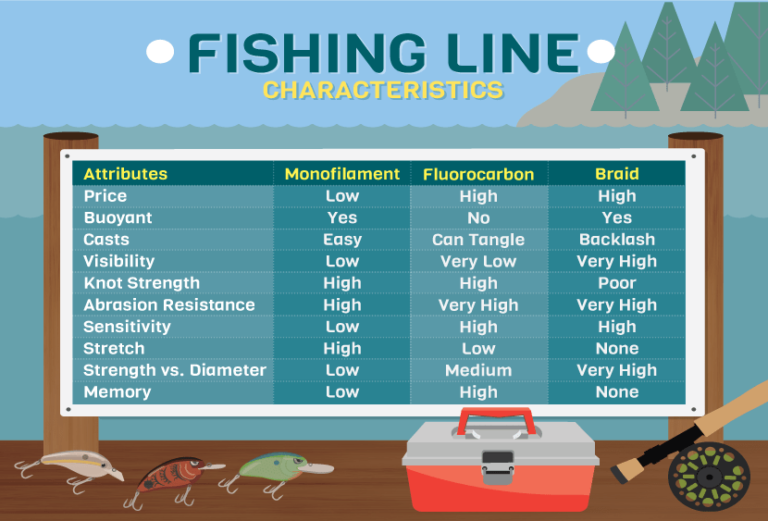
There are three types of fishing lines. Each fishing line has a bit different characteristics and advantages. If you are a beginner, don’t worry about this too much; every type of string will work and you will still catch fish.
Next, what pound test fishing line should you use? The pound test is how many pounds of force that the line can hold before snapping.
Typically, you want to use line that is slightly higher than the weight of the fish you are trying to catch.
When in doubt, use a bit heavier pound test line so that you can still reel in bigger fish that might end up on the end of your line.
Step 2: Feeding the String Through the Eye Holes
Once you have your spool of fishing line, you need to pass it though all of the eye holes on the pole. Start at the very tip of the rod first and feed the line into each eye whole going toward the reel.
This may seem very simple, but people often get confused since you are passing the line backwards through the fishing rod.
Step 3: Tying the Line to the Reel
This step will actually depend on the reel you are using. Here is how to tie the line to both spinning reels and baitcasting reels.
Spinning Reels
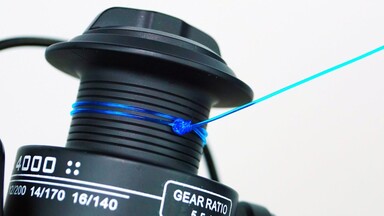
With a spinning (or open face) reel, start by flipping the bail up and open. The bail is the half-circle of wire on tip of the reel.
Once the bail is open, tie your fishing line directly to the ribbed section of the reel.
The knot you use doesn’t really matter as long as it will hold up while starting the spooling process. I usually just tie 3-4 regular knots.
Baitcasting Reels
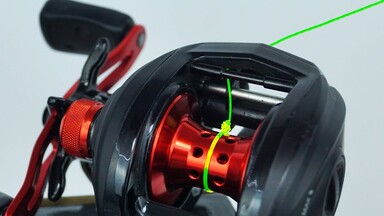
Casting reels are a bit different. Begin by passing the line through the line guide or whole at the front of the reel.
This guide will be sitting on a horizontal bar. Then pass the line through one of the holes in the middle of the casting spool and out another hole in the spool.
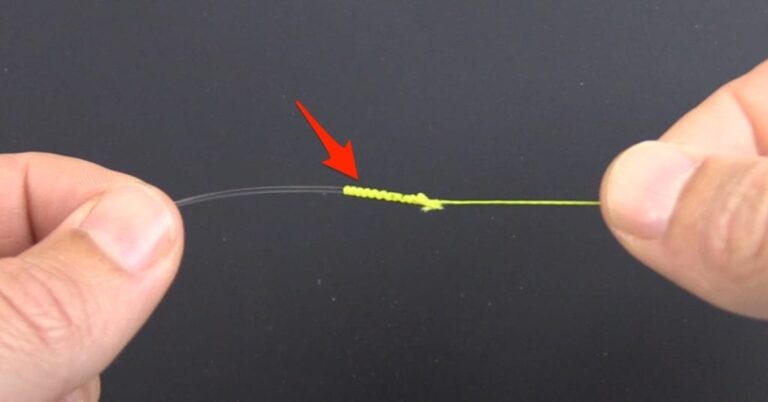
This can be a bit frustrating but after 10-20 seconds it should go through both holes. Then tie a knot with the main line and the line that passed through the spool.
Step 4: Reeling In
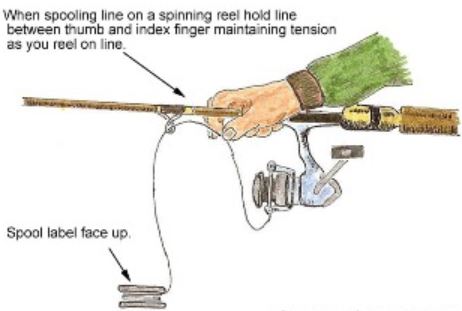
This is the easiest part. Just start reeling in. Make sure you are lightly pinching the line right above the face of the reel while doing it.
This makes sure that the line sits firmly on the spool which prevents tangles and allows you to put as much line as possible on the reel.
Step 5: Knowing When to Stop Spooling
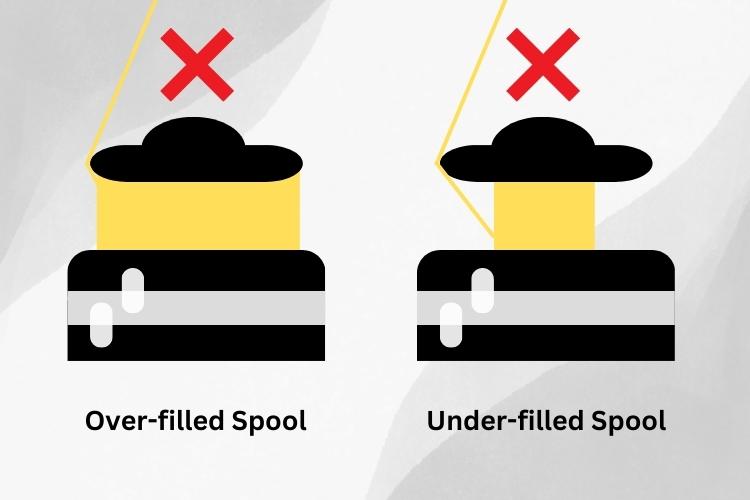
If you don’t add enough line to you rod, you won’t be able to cast far, big fish can pull all the line off your reel, and you will run out of line very quickly from changing lures and other things that require the cutting of line.
If you add too much line, your line can fall of the reel or get tangled very easily. The rule of thumb is to leave a quarter inch of space between the line in the spool and the rim of the spool itself.
Also read: Does Fishing Line Go Bad?
Recap of How to String a Fishing Pole
- Choose the right line for your fishing situation
- Feed the line through the rod starting and the top and working down
- Tie the line to the spool of your reel
- Reel in the line while letting it run through your pinched fingers
- Cut of the line once it is a quarter of an inch away from the edge of the spool
Tying this Off
This process can be a bit frustrating the first couple times that you do it, but you will quickly get the hang of it.
Make sure that you use this newly spooled fishing rod often so that you don’t have to remove memory from the fishing line.
Now that your rod has line on it, make sure you are tying the right lures to the end of that line so that you make it all worth it. Good luck, and happy fishing!
Also Read: Best Hook Sharpener